A Person Uses A Lathe To Picat
Breaking News Today
Mar 16, 2025 · 5 min read
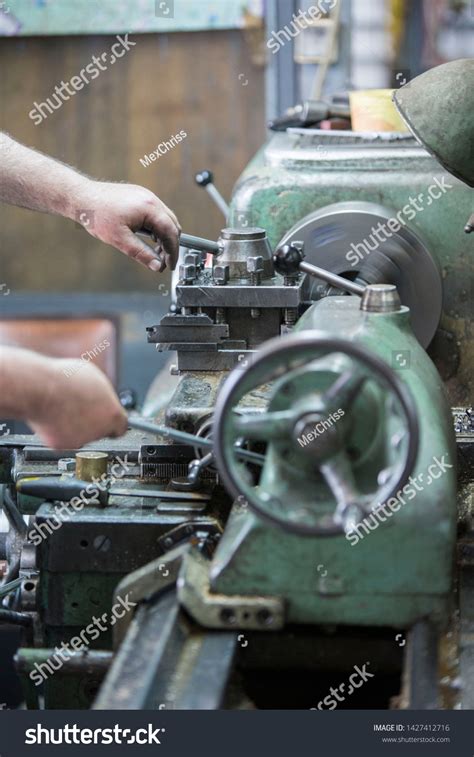
Table of Contents
- A Person Uses A Lathe To Picat
- Table of Contents
- Picat: Transforming Wood with a Lathe – A Comprehensive Guide
- Understanding Picat: Beyond Basic Woodturning
- Setting Up Your Lathe for Picat
- 1. Choosing the Right Lathe
- 2. Safety First!
- 3. Mounting the Wood
- Choosing Your Wood
- Mastering Basic Picat Techniques
- 1. Rough Shaping
- 2. Refining the Shape
- 3. Creating Curves and Contours
- 4. Carving Details
- Advanced Picat Techniques
- 1. Undercutting
- 2. Texturing
- 3. Combining with Other Woodworking Techniques
- 4. Creating Intricate Patterns and Designs
- Finishing Your Picat Masterpiece
- 1. Sanding
- 2. Applying Finish
- 3. Polishing (Optional)
- Inspiration and Resources for Picat
- Conclusion: Embracing the Art of Picat
- Latest Posts
- Latest Posts
- Related Post
Picat: Transforming Wood with a Lathe – A Comprehensive Guide
Turning wood on a lathe is a rewarding craft, allowing you to create beautiful and functional objects. This article dives deep into the process of using a lathe for picat, a technique that involves shaping wood into intricate designs. We'll cover everything from setting up your lathe and selecting appropriate wood to mastering advanced picat techniques and finishing your masterpiece.
Understanding Picat: Beyond Basic Woodturning
While basic woodturning focuses on creating smooth, symmetrical forms, picat takes it a step further. Picat, often referencing specific carving or shaping techniques, elevates woodturning into a more detailed and artistic endeavor. It involves detailed shaping, carving, and often combining other woodworking techniques to produce pieces with unique textures and intricate designs. Think of it as wood sculpture using the lathe as your primary tool. This might involve:
- Intricate Carving: Using various chisels and gouges to create fine details and patterns directly on the rotating wood.
- Undercutting: Creating recesses and negative space to add depth and shadow to your design.
- Combining Techniques: Integrating elements of whittling, carving, and other woodworking skills to achieve the desired effect.
- Texturing: Creating various surface textures using different tools and techniques.
Setting Up Your Lathe for Picat
Before you begin, ensuring your lathe is properly set up is crucial for safety and success. This includes:
1. Choosing the Right Lathe
For picat, you’ll need a lathe with sufficient power and speed control. A variable-speed lathe is ideal, allowing you to adjust the speed depending on the tool and the task. The size of the lathe should accommodate the dimensions of your wood pieces.
2. Safety First!
- Safety Glasses: Always wear safety glasses to protect your eyes from flying wood chips.
- Dust Mask: Wood dust can be harmful, so a dust mask is essential, especially when working with hardwoods.
- Appropriate Clothing: Wear clothing that won't get caught in the lathe. Avoid loose sleeves or dangling jewelry.
- Secure Workpiece: Ensure your workpiece is securely mounted between the headstock and tailstock.
- Sharp Tools: Dull tools are more dangerous than sharp ones. Keep your tools sharp and in good condition.
3. Mounting the Wood
Securely mount your workpiece between the lathe's headstock and tailstock. Properly centering the wood is critical for preventing vibrations and ensuring a smooth, even cut. Use a chuck or faceplate, depending on the shape and size of your wood. Make sure your wood is firmly attached and won't shift during operation.
Choosing Your Wood
The type of wood you choose significantly impacts the outcome of your picat project. Consider the following factors:
- Hardness: Harder woods are better for intricate detail work but can be more challenging to carve.
- Grain: The grain pattern can influence the final look of your piece. Some grains lend themselves better to certain types of carving.
- Color: The natural color of the wood can enhance your design.
- Stability: Choose wood that is well-seasoned and stable to prevent warping or cracking during the turning process.
Mastering Basic Picat Techniques
Start with basic techniques before tackling complex picat projects. These include:
1. Rough Shaping
Begin by using roughing gouges to bring the wood to the approximate shape and size of your design. Work slowly and methodically, removing material gradually.
2. Refining the Shape
Once you have the rough shape, switch to smaller gouges and chisels to refine the form and add detail.
3. Creating Curves and Contours
Use skew chisels and spindle gouges to create curves and contours. This requires practice and a steady hand.
4. Carving Details
Use smaller carving tools to add intricate details and patterns to your design. This might involve creating texture, incising lines, or adding sculptural elements.
Advanced Picat Techniques
As you gain experience, you can explore more advanced techniques:
1. Undercutting
Undercutting involves carving away material beneath the surface to create shadows and depth. This adds visual interest and enhances the three-dimensional effect.
2. Texturing
Creating different surface textures can add another layer to your picat pieces. Experiment with different tools and techniques to create smooth, rough, or patterned surfaces.
3. Combining with Other Woodworking Techniques
Don't limit yourself to just lathe work. Integrate other techniques like wood burning, inlay, or painting to further enhance your design.
4. Creating Intricate Patterns and Designs
Once you're comfortable with the basics, you can try creating more elaborate and complex patterns. This may involve sketching your design beforehand and working methodically to achieve the desired outcome.
Finishing Your Picat Masterpiece
The finishing touches are as crucial as the turning process itself. This involves:
1. Sanding
Sanding smooths the surface and prepares it for finishing. Start with coarser grit sandpaper and gradually move to finer grits.
2. Applying Finish
Choose a finish that complements your wood and design. Options include oil finishes, varnish, shellac, or lacquer. Apply the finish according to the manufacturer's instructions.
3. Polishing (Optional)
For an extra-smooth finish, you can polish your picat piece using polishing compound and a buffing wheel.
Inspiration and Resources for Picat
Many online resources and communities are dedicated to woodturning. Search for "woodturning tutorials," "picat techniques," or "advanced woodturning" to find valuable information. Observing the work of experienced woodturners can provide immense inspiration and help you refine your skills. Don't be afraid to experiment and develop your unique style.
Conclusion: Embracing the Art of Picat
Picat, with its intricate detailing and artistic expression, takes woodturning to a new level. While it demands patience, practice, and a keen eye for detail, the satisfaction of creating unique and beautiful pieces is unparalleled. By mastering the techniques outlined in this guide and continuously exploring new possibilities, you can transform your woodturning passion into stunning works of art. Remember safety is paramount throughout the entire process. Enjoy the journey of learning and creating!
Latest Posts
Latest Posts
-
The President Of The Senate Is Quizlet
Mar 18, 2025
-
The Infant Isnt Breathing Normally But Has A Pulse Quizlet
Mar 18, 2025
Related Post
Thank you for visiting our website which covers about A Person Uses A Lathe To Picat . We hope the information provided has been useful to you. Feel free to contact us if you have any questions or need further assistance. See you next time and don't miss to bookmark.
